Add an Action for Allowing Comments
The preset actions when creating workflows are actions that take place once the conditions are satisfied.
- On the Administration menu, select Content, and click Workflow.
- Click Add Workflow to create a new workflow.

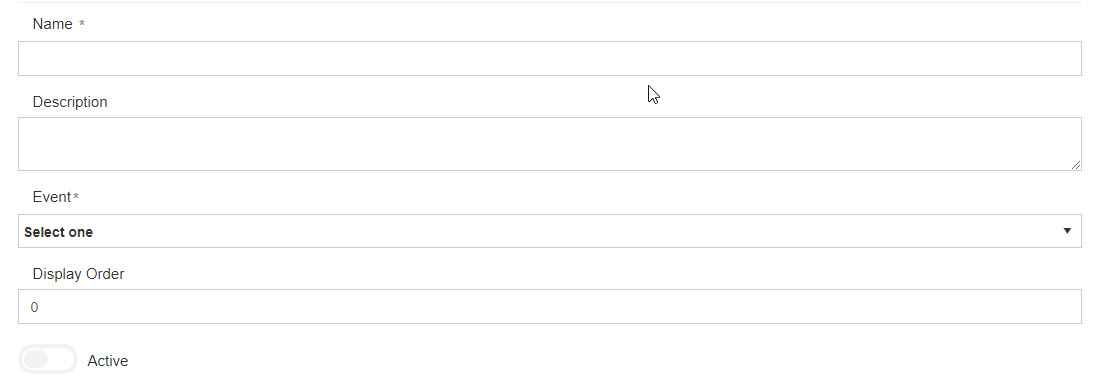
- In the Name field, enter the name to be given to the workflow.

- In the Description field, enter a description explaining what the workflow would do.
- From the Event drop down, select the event that will trigger the workflow.
- In the Display Order field, enter the order in which the workflow will be triggered when there are several.
- Select the Active slide button to make sure the workflow runs when conditions are met.
- In the Workflow Conditions area, click the Add New Condition button to set conditions which need to be met before the action can take place.

- From the Select Field drop down, select the condition operator.
- From the Select One drop down, select the field on which is condition is built.
- From the Select Expression drop down, select the expression that the condition needs to satisfy.
- Depending on these selection the last field can be either a free form field, or a drop down select, or a date picker.
- In the Workflow Actions area, click the Add New Action button to add the action that will take place once the conditions are met.
- From the Select Field drop down, select Change Allow Comments.

- Click the drop down of the last field and select whether to set to True or False once the conditions are met.
- Click Save when finished.
The page you are trying to view has expired and is no longer available for viewing.