Add a Date Picker Field to the Ticket Page
- Expand Administration and click Ticketing.
- From the Select a Project drop down, click the ticket project to modify.
- Click the Ticket Fields tab.
- Click the Add Date Picker button.
- In the Name field, enter the name to display for the field.
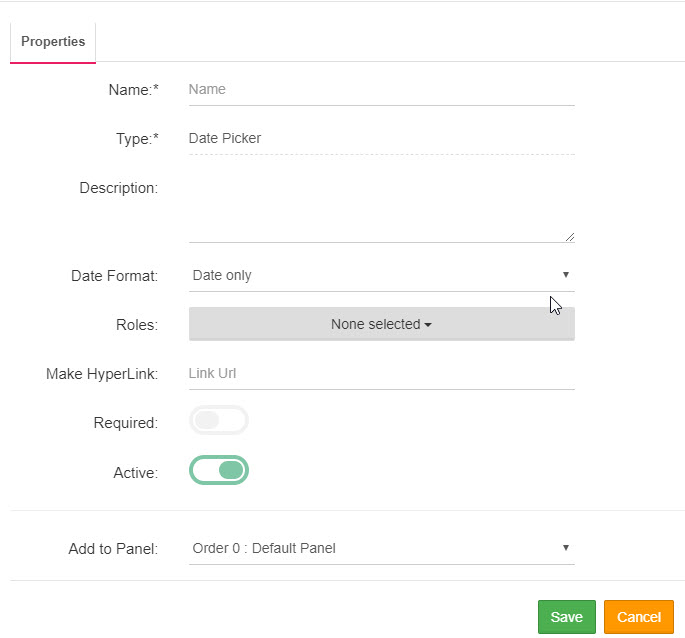
- Optionally, enter a description for the text area in the Description field.
- From the Date Format drop down, select the format to display the date with on the ticket page.
- From the Roles drop down, select the roles that have access and visibility to the text area on the ticket page.
- To make this field a hyperlink, enter the appropriate URL in the Make Hyperlink field.
- If this field is a required field on the ticket page, activate the Required slider.
- The Active slider is selected by default.
- If more than one panel exist on the ticket age, select the panel where to place the date picker from the Add to Panel drop down.
- Click Save and close the box.
The page you are trying to view has expired and is no longer available for viewing.